
Creating a Count
Start a new inventory count for the store.
A new inventory count is created from the Inventory Counts list. Creation takes two inputs — a name and a warehouse — and then opens the count detail page immediately so you can start adding products and counting.
The Inventory Counts list
Navigate to Fulfilment → Inventory Counts to see all counts for your store.
Count cards
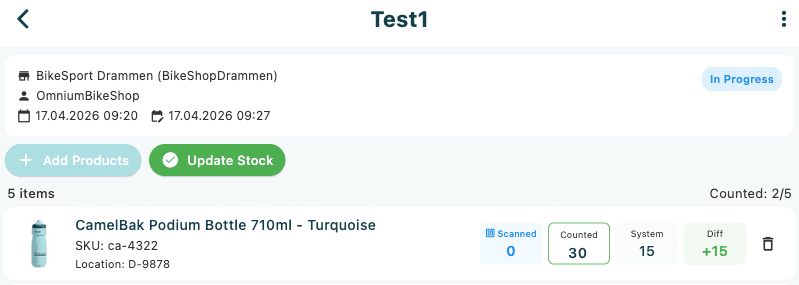
Each count appears as a card with:
| Element | Description |
|---|---|
| Status icon | Blue pending-actions icon (In Progress) or green check circle (Completed) |
| Name | The count name in bold. Shown as Unnamed Count when no name was given |
| Warehouse | Store icon with the warehouse name — shown when a warehouse is assigned |
| Assigned user | Person icon with the user name — shown when the count is assigned |
| Created date | Calendar icon with the creation timestamp (dd.MM.yyyy HH:mm) |
| Modified date | Edit icon with the last-modified timestamp — shown only when different from the created date |
Tap a card to open the count detail page. Tap the delete icon (bin outline, top-right of the card) to delete a count. The delete icon is only shown on counts that have not yet been completed.
Status badges
| Status | Colour | Meaning |
|---|---|---|
| In Progress | Blue | Count created but stock has not yet been updated |
| Completed | Green | Count submitted and system stock updated |
Sorting
Tap the Sort label in the top-right of the list toolbar to change the order:
| Option | Description |
|---|---|
| Newest first | Most recently created counts appear at the top (default) |
| Oldest first | Oldest counts appear at the top |
| Recently modified | Counts last changed appear at the top |
| Name A-Z | Alphabetical order by count name |
Pagination
When there are more counts than a single page, chevron left and right buttons appear at the bottom of the list with the current page indicator (Page N of M). Tap the chevrons to move between pages.
Empty state
If no counts exist yet, the list shows No inventory counts yet with a Create New Count button in the centre of the screen. Tap it to open the create dialog.
Creating a new count
- Tap the + floating action button in the bottom-right corner of the Inventory Counts list.
- The New Inventory Count dialog opens.
- Enter a name in the Name field (hint: Enter inventory count name). The field is focused automatically.
- Select a warehouse from the Warehouse selector.
- Tap Create to create the count.
On success, the dialog closes and the app navigates directly to the new count's detail page so you can begin adding products.
If your store has only one warehouse configured, it is selected automatically and you only need to enter the name.
Validation errors
The Create button is blocked and an inline red error appears when:
| Situation | Error message |
|---|---|
| Name field is empty | Please enter a name |
| No warehouse selected | Please select a warehouse |
| Warehouses could not be loaded | Failed to load warehouses |
Tap Cancel to close the dialog without creating a count.
Deleting a count
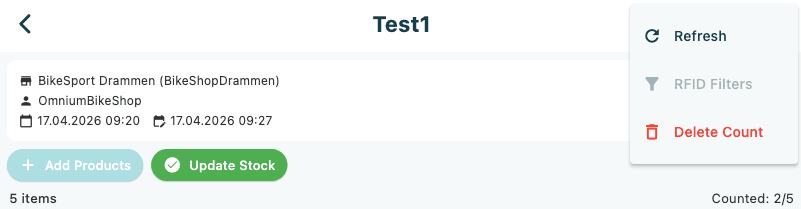
Deleting a count also removes all items added to it. This action cannot be undone.
- Tap the delete icon (bin outline) on the count card in the list.
- A confirmation dialog appears: Are you sure you want to delete "[name]"? This will also delete all items.
- Tap Delete (red) to confirm, or Cancel to go back.
Updating a single product quantity
If you need to adjust the quantity for one product without creating a full count, use the Update Quantity shortcut from the overflow menu.
- Tap the overflow menu (⋮) in the top-right corner of the Inventory Counts list.
- Tap Update Quantity.
- Search for the product in the product picker and select it.
- Enter the new quantity in the Update Inventory dialog and confirm.
A hardware barcode scanner can also be used from this page. When a barcode is scanned while the Inventory Counts list is open, the Update Inventory dialog opens automatically for the matched product.