
Purchase Orders Overview
Browse and manage purchase orders for the store.
The Purchase Orders screen is the starting point for all inbound stock management. It lists every purchase order linked to your store — whether raised against a supplier or created as an internal warehouse transfer — and lets you search, filter, and drill into individual orders.
Use this screen to monitor what stock is on its way, track the status of each order, and create new orders when needed.
Understanding the tabs
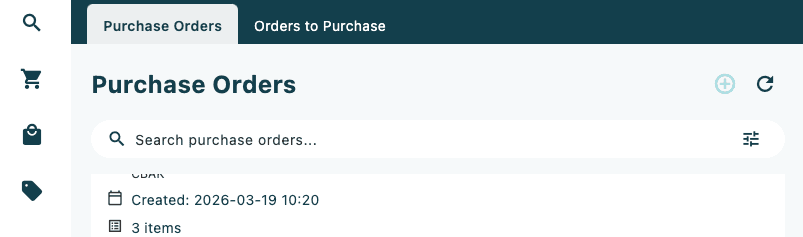
The screen contains two tabs at the top:
| Tab | What it shows |
|---|---|
| Purchase Orders | All purchase orders in the system, with filters and search |
| Orders to Purchase | Items that have been requested but not yet turned into a purchase order |
Tap a tab label to switch between them. This page covers the Purchase Orders tab. For the second tab, see Orders to Purchase.
Browsing the list
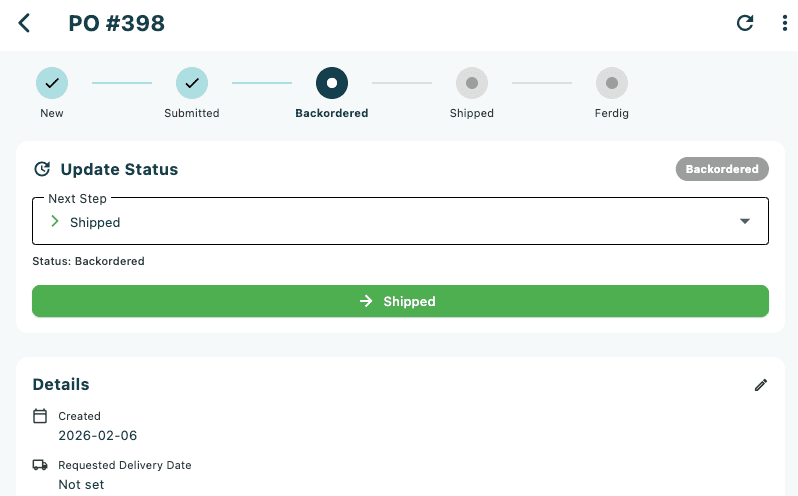
Each purchase order appears as a card in the list. Cards are sorted newest-first by default and display up to 20 orders per page.
What each card shows:
- PO number — the purchase order number in large bold text. If the internal ID differs from the PO number, the ID appears beneath it in smaller text.
- Name — an optional descriptive name for the order, if one was set.
- Status badge — a colour-coded pill in the top-right corner showing the current status (see Status colours below).
- Supplier or warehouse — either the supplier name and ID, or an "Internal Transfer" label with the source warehouse code.
- Created date — when the order was placed, plus the Requested Delivery date if one was set.
- Reference — the supplier's reference number, if present.
- Item count — how many line items are in the order.
- Total — the order total and billing currency.
- Tags — any tags applied to the order, shown as small chips.
- Errors — if the order has processing errors, a red error count appears at the bottom of the card.
Tap any card to open the Purchase Order Detail view.
Status colours
| Colour | Statuses |
|---|---|
| Blue | New, Draft |
| Orange | InProgress, Ordered, Confirmed |
| Teal | Sent |
| Purple | PartiallyReceived |
| Green | Completed, Received |
| Red | Cancelled |
Pagination
When there are more than 20 orders, paging controls appear at the bottom of the screen showing the current page, total pages, and total order count. Tap the arrow buttons to move between pages.
Searching
The search bar at the top of the list accepts free-text search across purchase order numbers, references, and supplier names.
- Tap the search bar.
- Type your query — results update automatically as you type (with a short delay).
- Clear the field to return to the full list.
Filtering
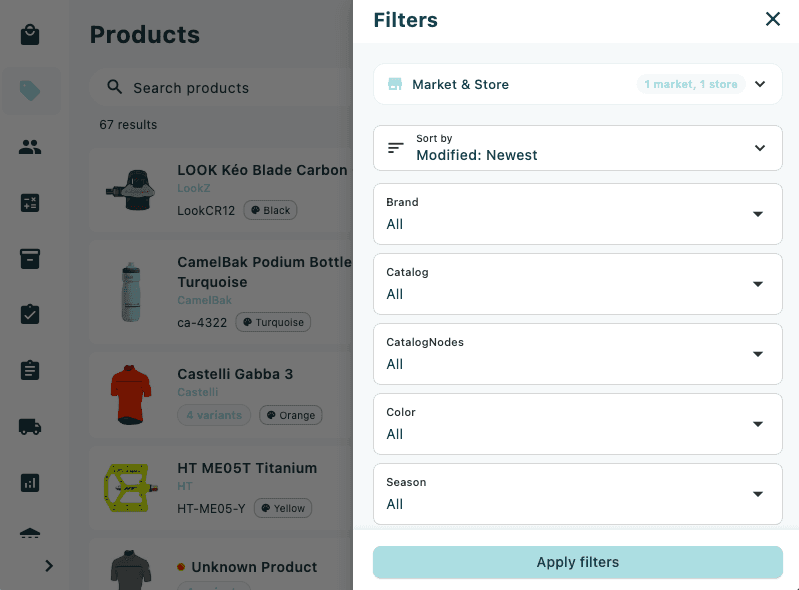
Tap the filter icon (the sliders icon on the right of the search bar) to open the Filters panel. A numbered badge on the icon shows how many filters are currently active.
Available filters
| Filter | Description |
|---|---|
| Market / Store | Limit results to specific markets or stores |
| Sort Order | Newest First, Oldest First, Reference (A–Z), Reference (Z–A) |
| Order Type | Supplier Order or Internal Transfer |
| Status | One or more statuses (options populated from your data) |
| Supplier | A specific supplier (options populated from your data) |
| Created Date | A date range for when orders were created |
| Requested Delivery Date | A date range for the expected delivery |
Applying filters
- Tap the filter icon to open the Filters panel.
- Set the desired filters.
- Tap Apply Filters to close the panel and refresh the list.
Active filters appear as chips below the search bar. Tap the × on any chip to remove that individual filter. To remove all filters at once, open the Filters panel and tap Clear All.
Creating a purchase order
Tap the + button in the top-right corner of the screen to create a new order.
A bottom sheet appears with two tabs:
Supplier Order
Use this to order stock from an external supplier.
- Tap the Supplier Order tab.
- Search for a supplier by name or ID using the search field.
- Tap the supplier you want to order from — a tick appears to confirm your selection.
- Tap Create Purchase Order.
The new order opens immediately in the Purchase Order Detail view so you can add line items and fill in the details.
Internal Transfer
Use this to move stock between two of your own warehouses.
- Tap the Internal Transfer tab.
- Tap From Warehouse to expand the selector, then choose the source warehouse.
- Tap To Warehouse to expand the selector, then choose the destination warehouse.
- The destination defaults to your device's home store if one is configured.
- If the direction is wrong, tap Swap to reverse the From and To warehouses.
- Tap Create Purchase Order.
Only warehouses your user account has access to are shown in the selector.
Refreshing the list
Tap the Refresh button (the circular arrow icon) in the top-right corner to reload the list from the server without changing any active filters or the current page.